DIY DUPING FRUIT ROLL-UPS

Fellow 90’s kids, isn’t it amazing what companies marketed as snacks that were good for everyday lunches? Products like Fruit by the Foot™ or Fruit Roll-Ups™ are basically candy. Tasty, colorful, overpriced candy. Aside from health benefits, the best parts about making your own fruit leather are that it’s economical, can be made from ingredients already in your home, involves less plastic, and allows you to prevent fresh fruit or produce from going to waste!

For example, one batch of fruit leather came from Unsatisfactory Produce. The mango was slightly not ripe enough; the kiwis were a bit too soft and lacked punchy flavor. Blending them together and drying out the puree in the oven creates a tasty, tropical snack! Feel free to squeeze those creative juices with all sorts of fruit and flavor combinations!

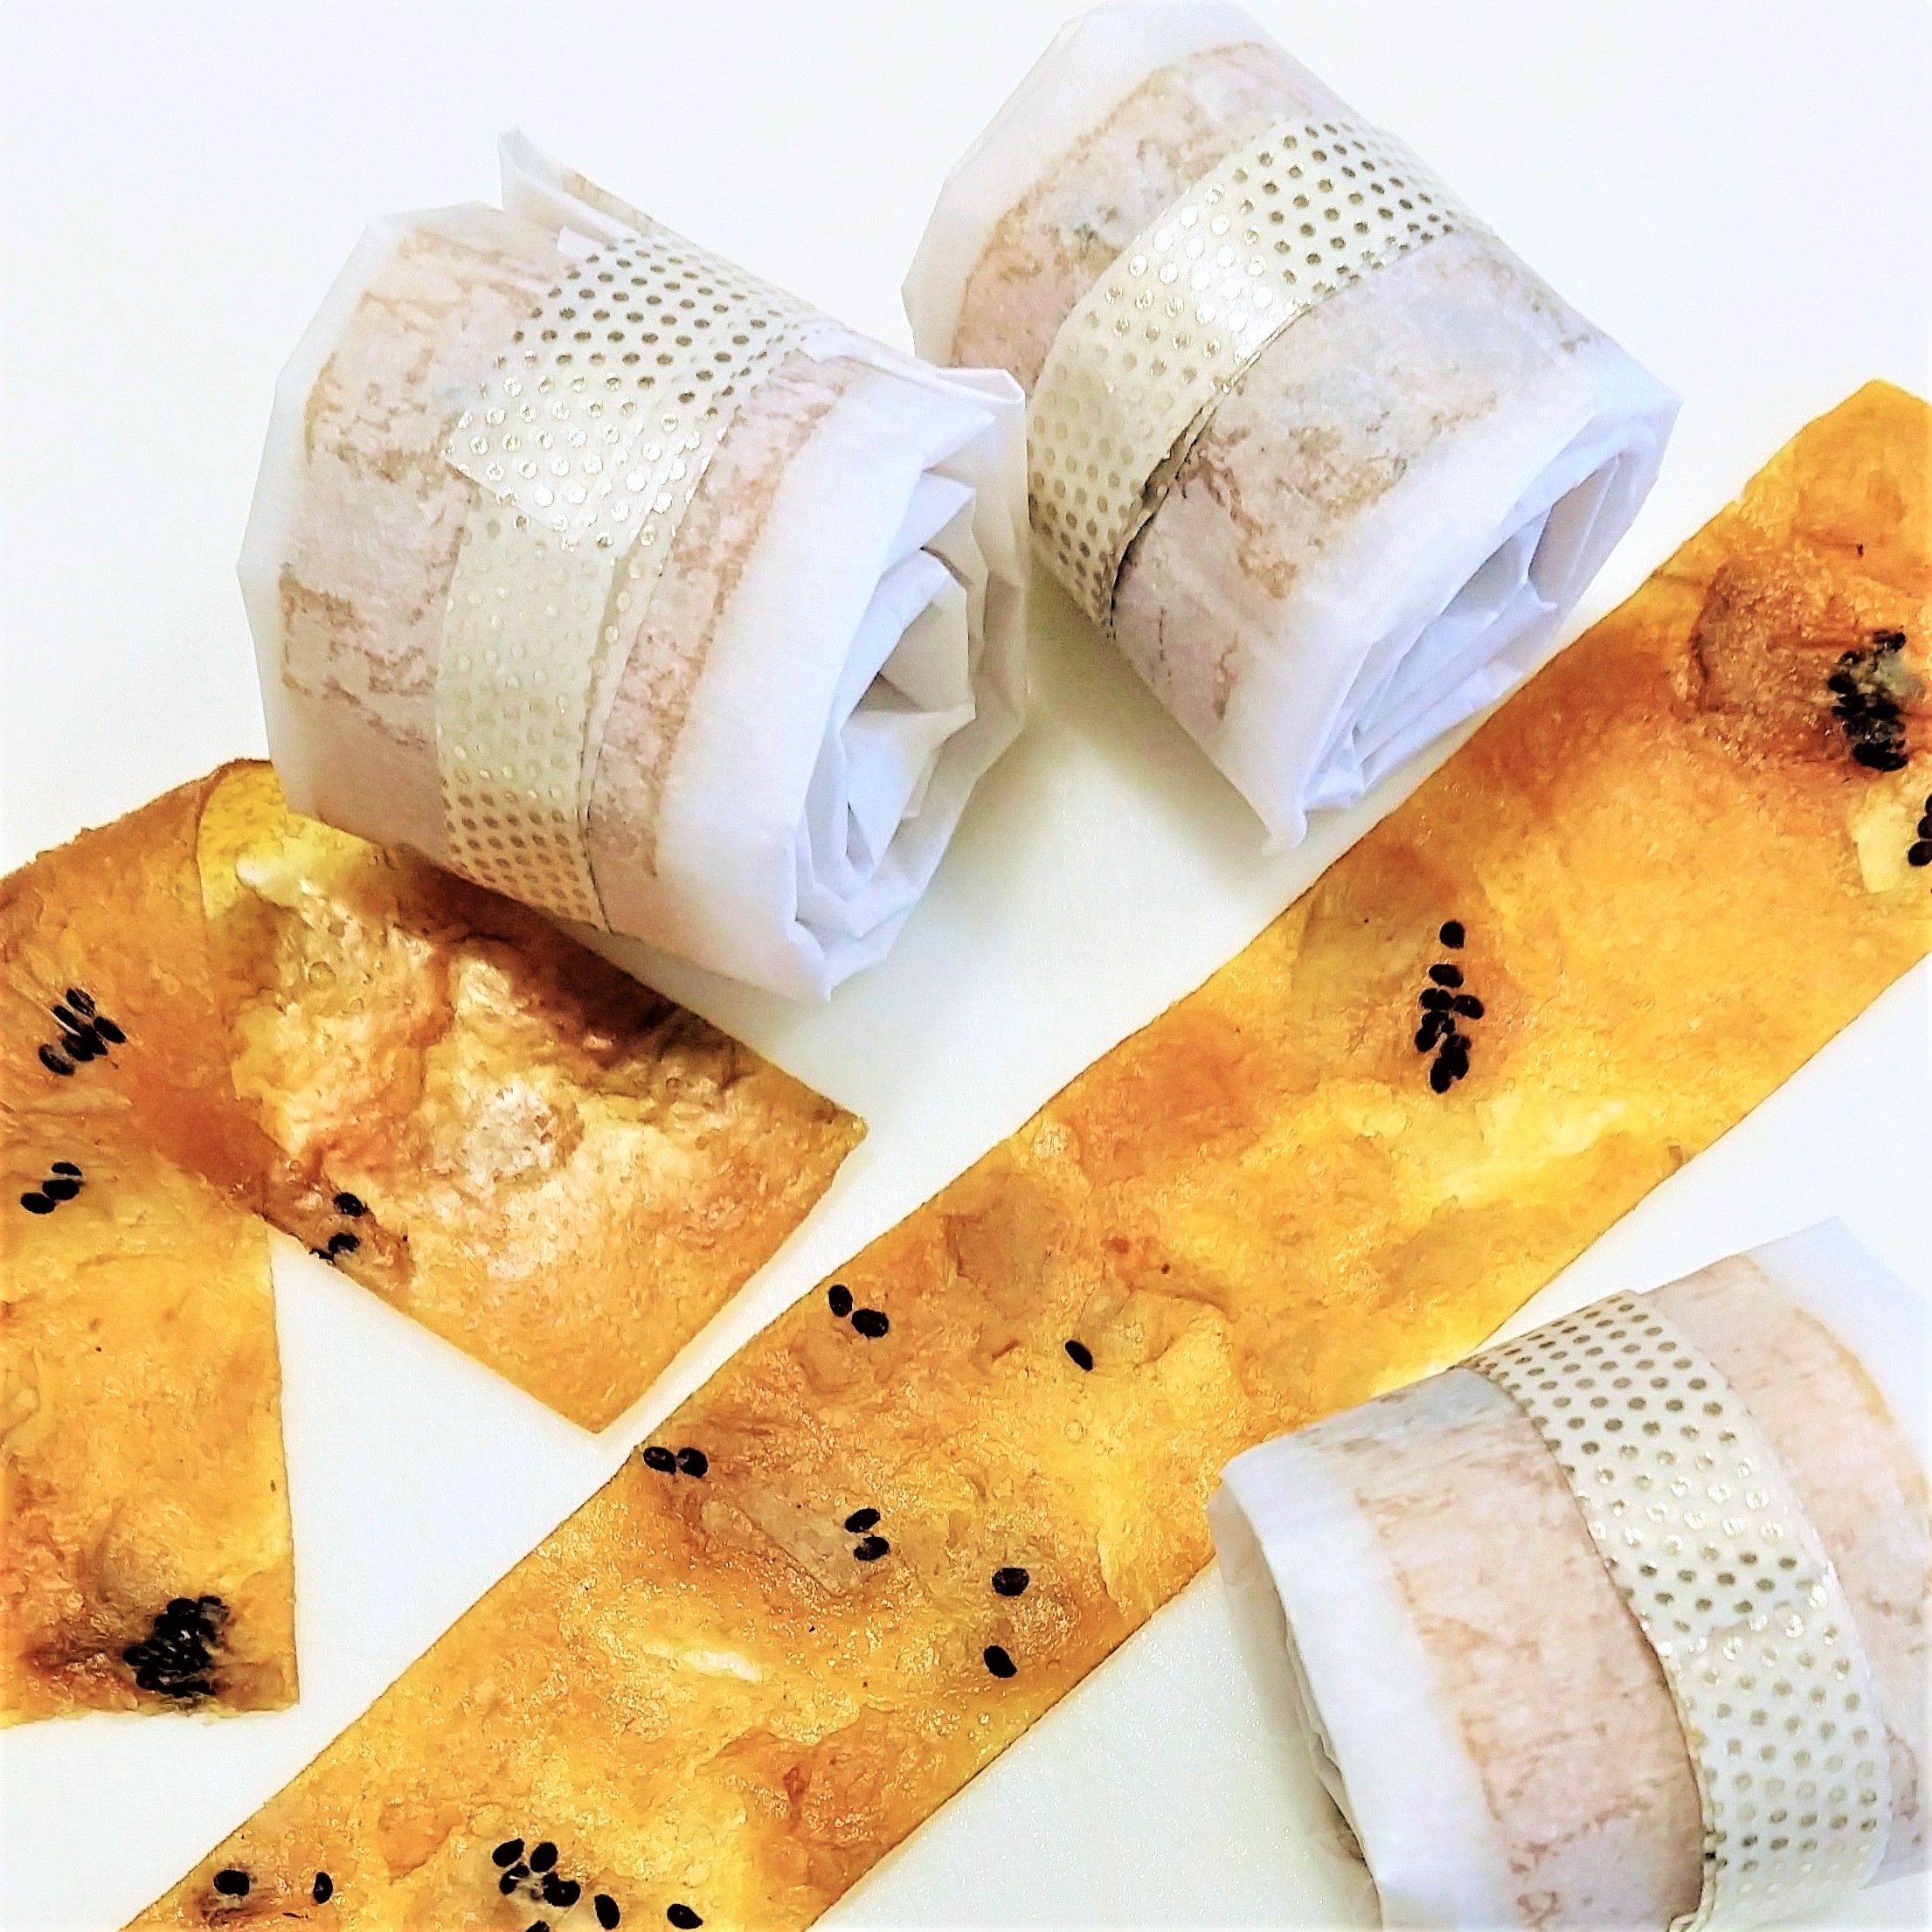
THE FRUIT GAME IS AFOOT!

Prep:

15 min

Cook:

7 hrs

Total:

7.5 hrs

Makes 7 servings, going with each being about 1 x 12 inches long using 9 x 13 inch baking tray (~22.86 x 33.02 cm).

COOKING NOTES:
This recipe is based in a standard oven, without using a food dehydrator or drying settings. Those methods require different times, but the preparation steps are the same. Additionally, you only need to be hands-on for a tiny bit of the time. If you don’t have 6-7 straight hours to bake the leather, you can take it out halfway through, let it cool completely, cover it and resume baking later in the day. I’ve often made the puree a day ahead, stored it in the fridge, then baked it on a weekend day.

INGREDIENTS:

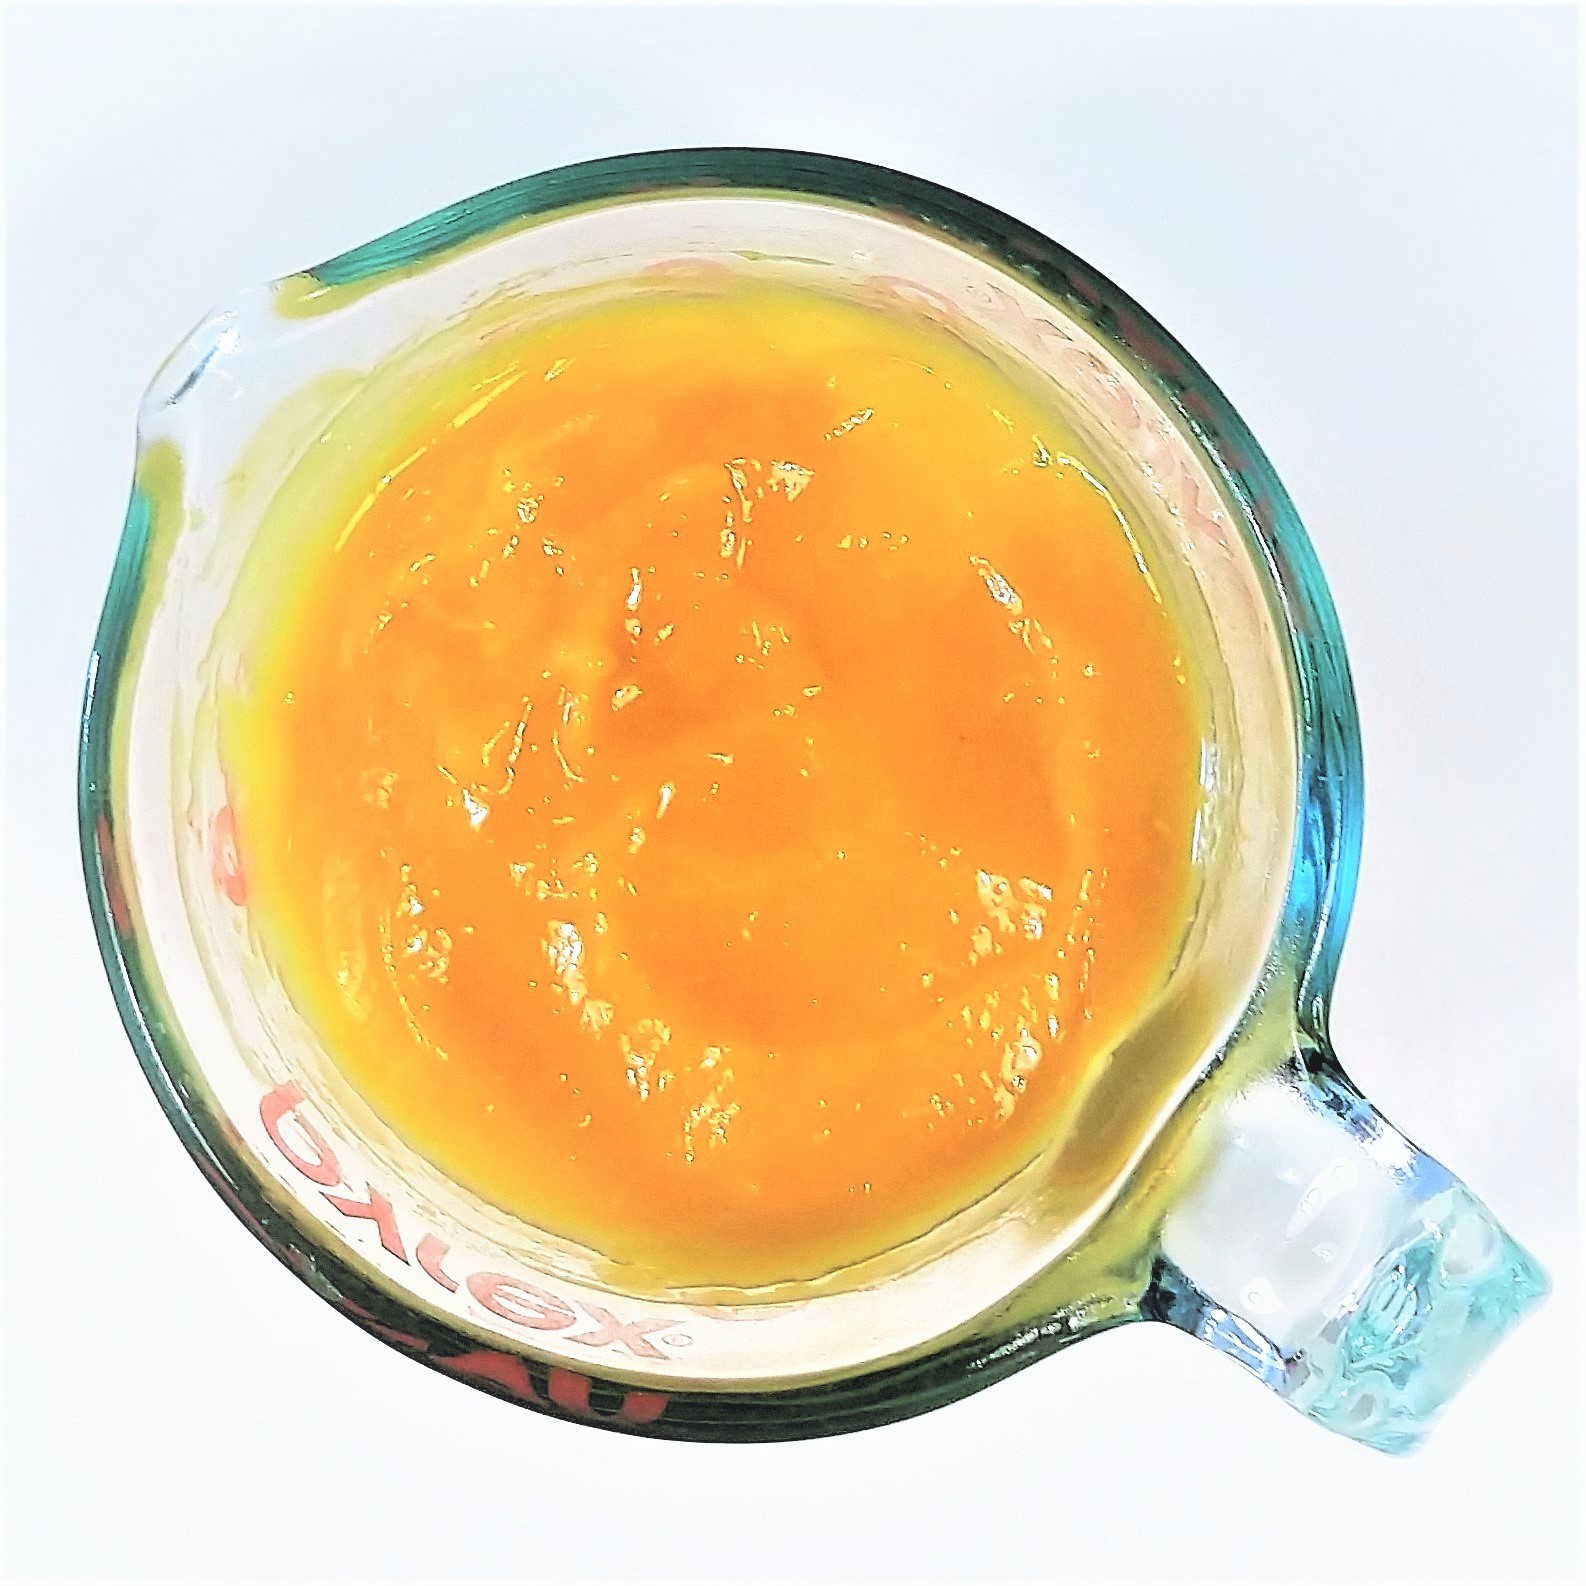
  • 2 heaping cups (liquid, so ~500 ml) of pureed fruit*
  • 2 tsp lemon or lime juice**

*I achieved this volume with 1 green mango and 2 small kiwis, which was about 2.5 cups chopped.

**To brighten flavor, assist in preservation, and maintain color. You could also sub in 2 tsp apple cider vinegar.

Don’t have quite enough fruit to reach the volume? You can easily supplement with a bit of carrot, beet, or pumpkin puree.

      [Optional] 

  • spices based on your preferences, like ginger (whether as a fresh paste or small amounts of ground) — just remove any whole ones like star anise before blending
  • granulated sugar/sweetener in case your puree is extremely tart. You probably won’t need this, but if you’re trying to use some overly tart berries or  other types of fruit, this can balance out any sour flavors from tartness and the acids. Normally the fruit is sweet enough on its own, even with the acids (they mellow out in the oven). Avoid liquids like honey or syrups.
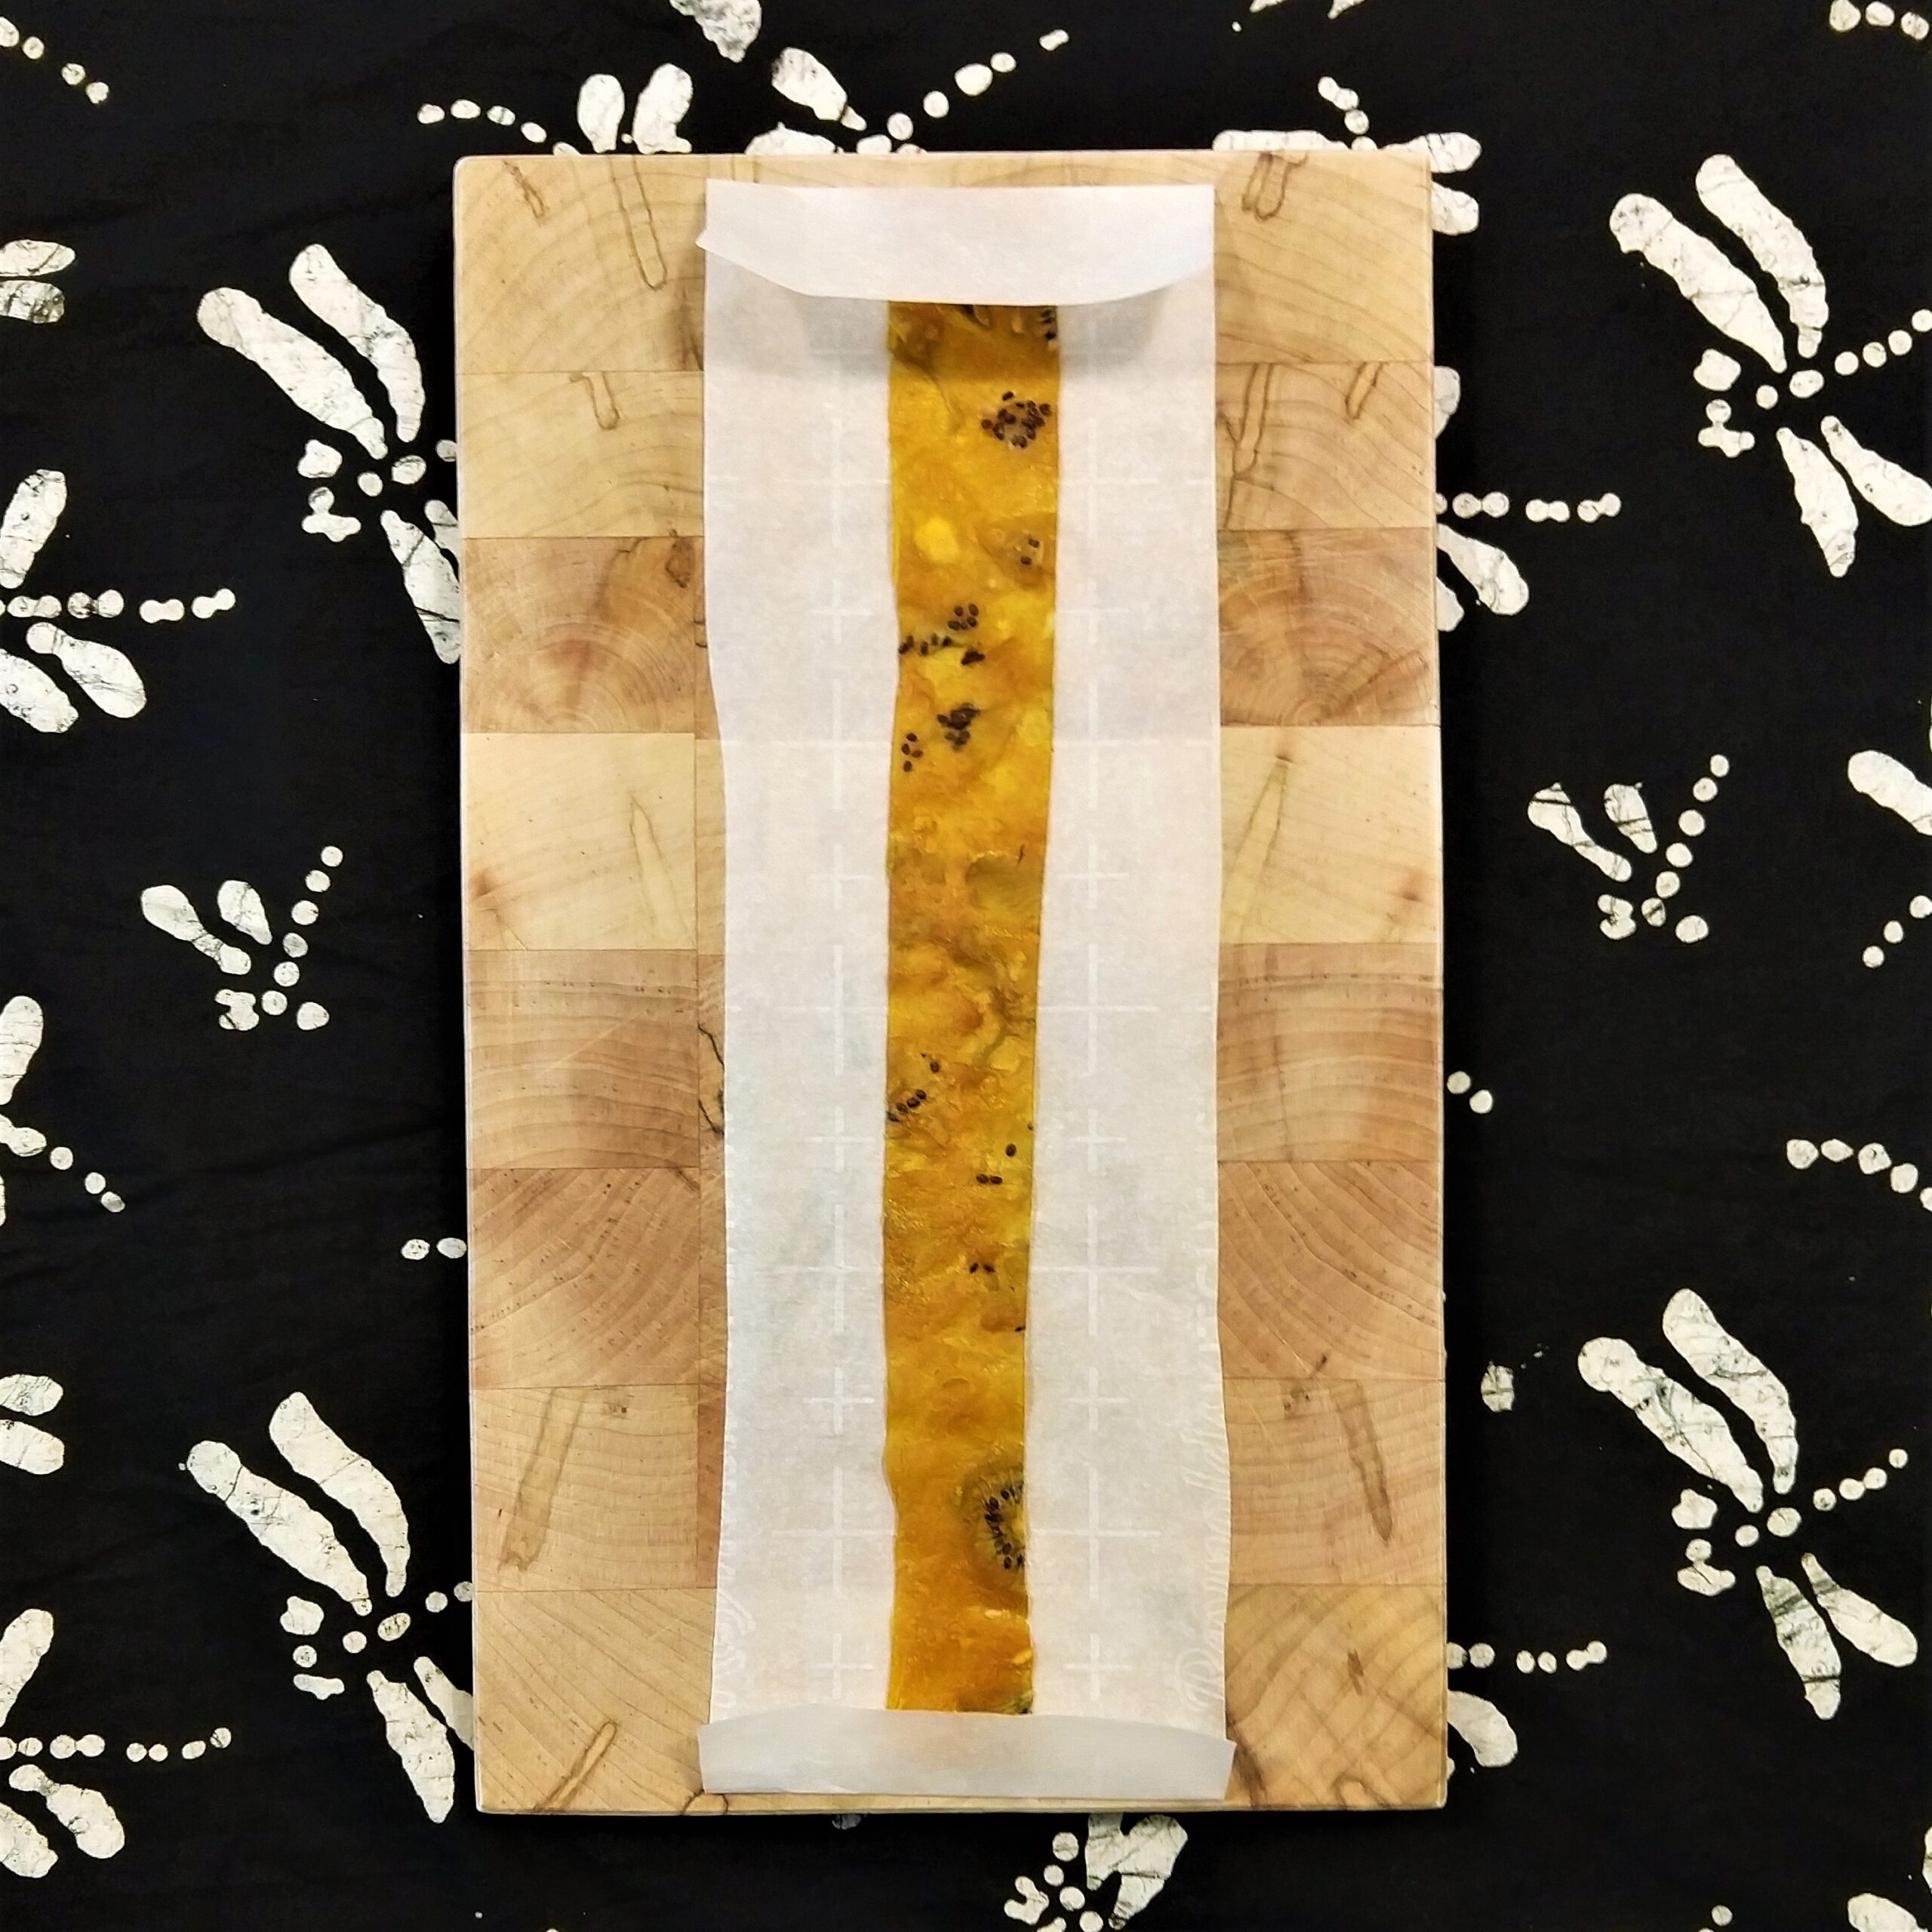
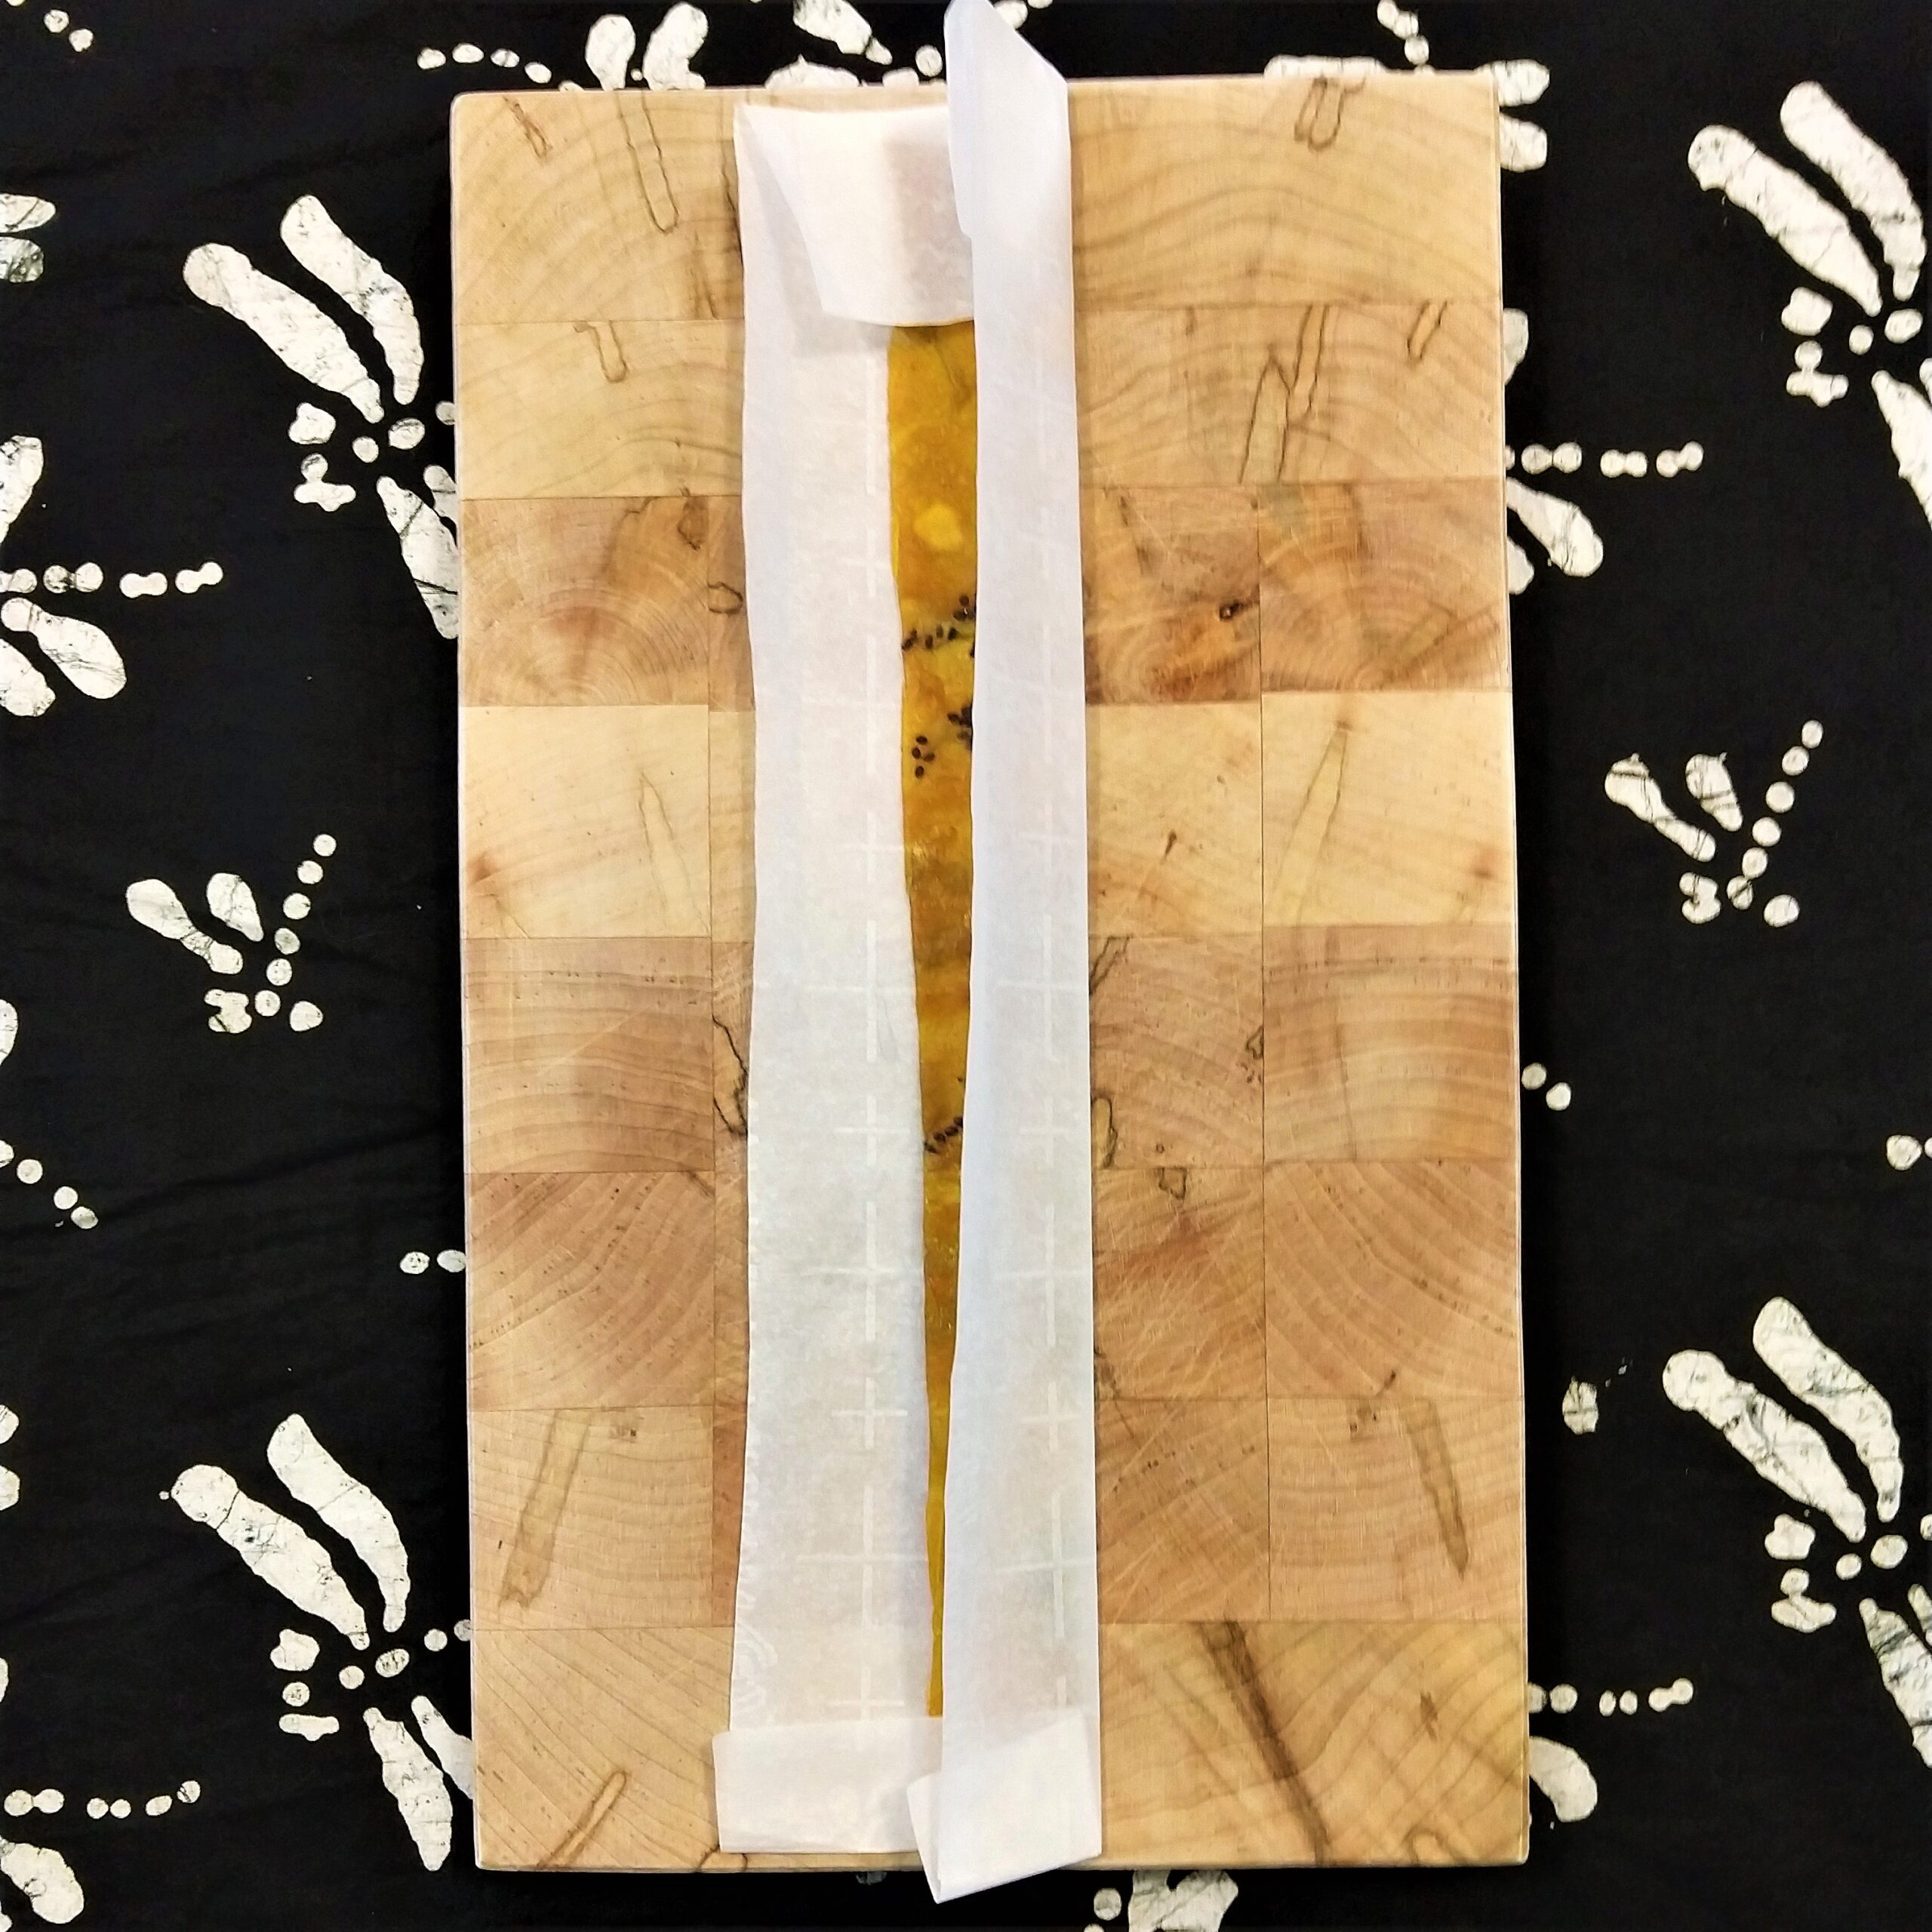
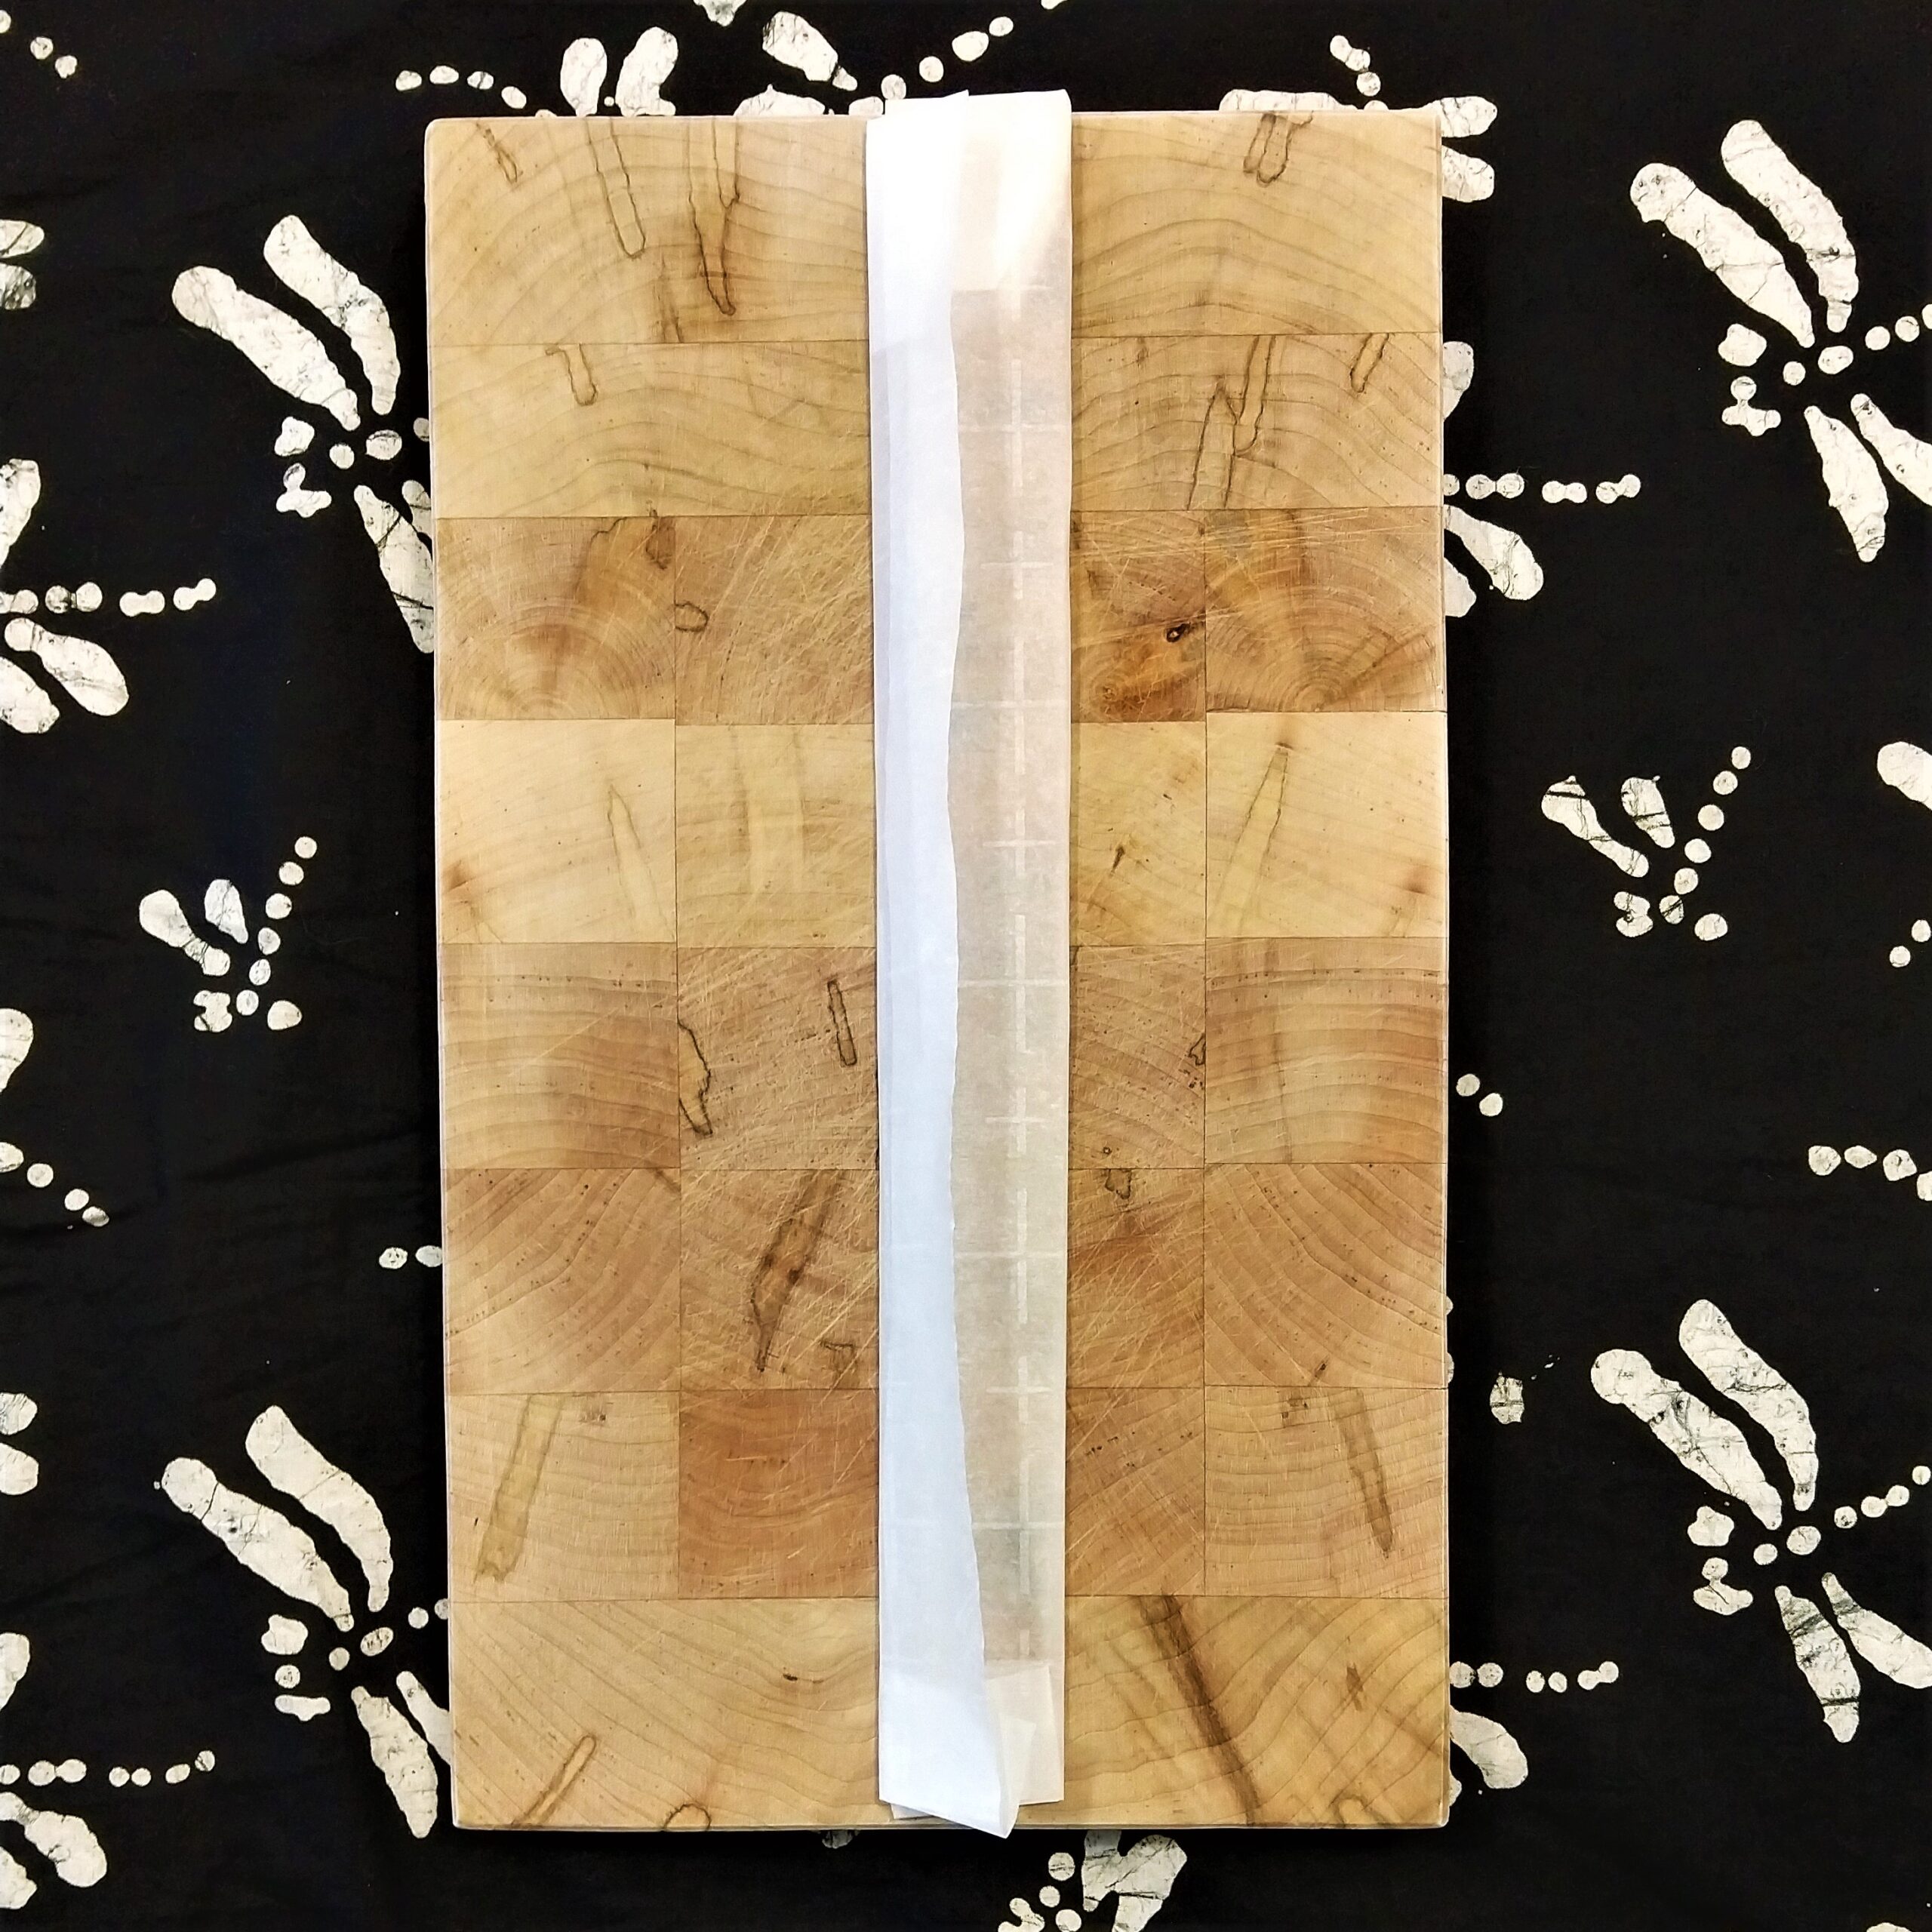
STEP BY STEP:

  • 1. Preheat the oven to 170 F (~76.7 C), which is the average lowest temperature setting. If your settings do not go that low, reduce bake time by an hour; after that time passes, check at 15 min intervals. Line a 9 x 13 inch rimmed baking sheet with a silicon baking mat or parchment paper. If using parchment paper, brush it with 1 tsp coconut oil (the culinary kind that solidifies at room temperature). Do not use wax paper or aluminum foil. Parchment paper can sometimes warp with the fruit leather and make it buckle, so a silicon mat is best for flattest, smoothest results. (9 x 13 in = ~22.86 x 33.02 cm).

  • 2. Examine any soft or overly ripe fruit, making sure there are no signs of mold or decay. Wash your produce if you haven’t already. Remove any fibrous, tough peels (mango, kiwi, etc), pits from stone fruit (peaches, plum, etc) and cores (like pears or apples). Roughly chop the fruit. Step 3 is very important if your fruit is soft or slightly under-ripened (but edible).

  • 3. In a small saucepan, combine your chopped fruit with water. Think ½ liquid cup (~118 ml) water to every 2.5 cups (~410 g) of chopped fruit. Cover and simmer for 15 minutes (sea level).

  • 4. Uncover the pan and stir the fruit. Mash up the chunks with a potato masher or thick wooden utensil. After tasting the fruit, add 2 tsp lemon juice. Add sugar 1 tsp at a time if your puree was too tart/sour for you. Simmer on low for another 5 minutes (may take longer above sea level) so that everything thickens up.

  • OPTIONAL: This step varies according to the type of fruit used because some, such as grapes and kiwis, are more watery than others; conversely, I skip it with mangos. I normally set a fine mesh strainer (sieve/sifter) over a bowl or mug (depending on the diameter) and ladle the fruity mixture into the sieve. Next, I press the back of the ladle against the pulpiness, pushing out as much liquid as possible while working in batches (5 minutes).

    This way, the processed mixture will have a lot less water while drying out in the oven, so it takes less time and reduces the chance of holes appearing in the fruit leather. Alternatively, you could strain the mixture over a cheesecloth for 30 minutes if you don’t have a fine mesh strainer/want a break from hands-on labor. Large holes on strainers are not recommended. I like to save the strained juice, sometimes freezing it for later projects like lemonade, syrups, sorbets, popsicles, margarita mix, etc.

  • 5. Run the mixture in a blender or food processor. Even if you don’t have a blender with a “puree” setting, process everything until it is as smooth as possible. As you pour the puree onto your prepared tray, evenly distribute the product across the surface. The layer should be at least 18 in (~0.32 cm) thick but no more than ¼ in (~0.65 cm). If you don’t have these appliances, mash and whisk the mixture until it is as smooth as possible. Pour the contents into a liquid measuring cup, aiming for a little over 2 cups (~500 ml).

  • 6. Bake at 170 F for 6.5 hours. Especially if you skipped the optional straining step, I recommend checking every 3 hours to see if any evaporated sections or holes start forming. In case that happens, just lightly smudge the puree to cover any gaps. Keep an eye on the center of the tray: based on the thickness/water level of your puree, you may need to bake for another 15 minutes or remove it 15 minutes early.

  • 7. The fruit leather will be done when it is fully dried, but still pliable and not squishy nor super sticky to the touch. Remove the tray from the oven and let it rest for 15 minutes. Separate the silicon mat/parchment paper from the tray. If using a silicon mat, gently peel the entire rectangle of fruit leather off the mat. I always want the sheet intact, so I gingerly start peeling from the outer edges. It will also lift off parchment. I use a pizza cutter, sharp knife, or sterilized kitchen scissors to trim the uneven outer edges. They tend to be more brittle, so you can break them into small pieces to use as sprinkles if you don’t feel like eating them on the spot. Trim it down however you like and enjoy!

  • PRESENTATION & STORAGE: You can cut the fruit leather into 1 x 12 inch strips, square sections, or use sterile kitchen scissors to cut the leather into fun shapes. To make into compact rolls that make great portable snacks, I set the leather strip in the middle of a 4 x 13 inch section of parchment paper. I fold down the shorter parchment edges over the leather, then fold the longer sides over towards the middle. Roll the wrapped fruit leather like a cinnamon roll, then you can knot it together with clean kitchen twine, ribbon, or washi tape wrapped around 2-3 times. Painter’s tape and freezer tape will also get the job done better than scotch tape but they’re not as cute.

    Completely dry fruit leather will last at least 1 month stored in a sterile, airtight container.

FLAVOR COMBINATIONS

  • Concord grapes will yield that expected “grape flavor” from snacks and candy.
  • I made a licorice flavored fruit leather using red grapes, plums, anise seeds, star anise and simmering the contents in licorice root tea.
  • If you like making apple cider or pear cider from whole fruits, you can totally use the leftover fruit pulp. Just bypass the intro steps, add some lemon juice and run the strained pulp in a blender.
  • Looking for an easy way to incorporate Covert Veggies and reduce sugar content? Purees from vegetables like beets, sweet potatoes, pumpkin, butternut squash, carrots, and even zucchini work well combined with fruits, particularly ones with high amounts of pectin.
  • Feel free to substitute colorful or flavorful teas in lieu of water. Think green matcha tea, vibrant hibiscus tea, lemongrass tea, or many more.
  • Blend a bunch of fruit together, add some red coloring and BOOM: fruit punch edition. 
  • Have excess watermelon? Since it has high water and low pectin content, check out this specific recipe for watermelon fruit leather. 
NUTRITION FACTS

Number of Servings: 7
Fiber: 0.2 g
Carbs: 9.4 g

Calories per Serving: 40 kcal
Sugar: 8.7 g
Protein: 0.2 g

Weight per Serving: 12 g
Fats: 0.3 g
Iron: 0.1 mg

All servings and nutritional measurements are approximate and will vary according to type of fruit (or even vegetable) used. These estimates are intended for information and guidance purposes only. Please consult a licensed nutrition or medical professional if you need assistance. 

Gluten-Free and Vegan Disclaimer: All of the ingredients listed in this recipe are available in gluten-free and vegan versions. Please do your research and verify ingredient lists, as many products can have surprisingly hidden amounts of gluten that can impact those with Celiac Disease and gluten allergies. Likewise, vegans may need to verify if products contain hidden amounts of whey or animal derived ingredients. 

Subscribe to the newsletter

Enter your email address for tasty concoctions direct to your inbox!